Spot welding in body-in-white
On a welding line producing a large number of different car bodies, new models need to be introduced with as little disruption as possible.

Wiest advantages
Customer benefits
After a clamp change, maintenance time for a tool:in measurement is only 15 minutes. After that, the production programmes of all models fit reliably.
Later, for cost reasons, the electrode caps were replaced by others with 2 mm more copper. Thanks to LaserLAB and tool:in, the conversion was completed quickly and without any problems.
Several Comau robots have now been replaced and remeasured with loop:in without any problems with production quality.
Integration on the second line without reteaching
Increase availability
Prevention of downtime
Shortening the commissioning
Case
Cell description
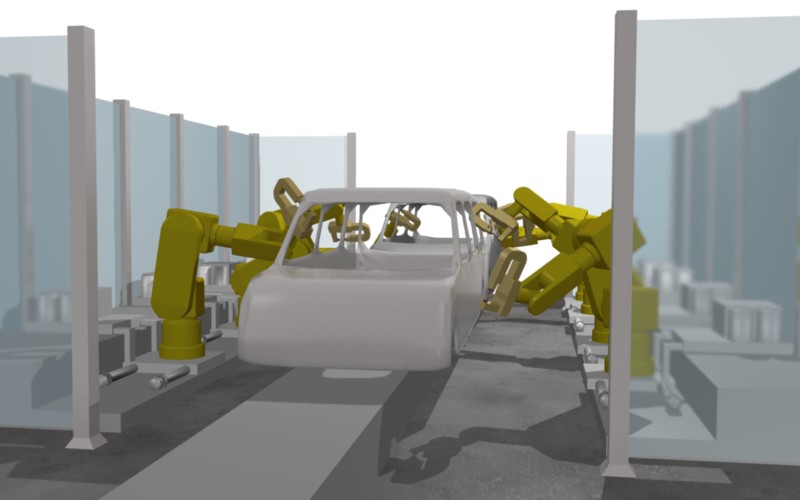
A large car manufacturer operates several welding lines for car bodies. Kuka KR125 robots and Comau H4 spot welding guns are used.
The special feature of the plant is that a large number of different models are produced on the same lines, and new models need to be introduced with as little disruption to the running line as possible.
Task
In the past, it was found that after changing spot welding guns, there was a significant spot offset. Re-teaching often led to new crashes, as the production line is extremely narrow and the welding spots, e.g. in the wheel arch, can only be changed to a very limited extent without risking a new collision.
To make matters worse, re-teaching had to be done for all models. However, these were not available at the time of the work. The model may not have appeared until the next shift. Forgetting to stop the line in time and adjust the robot programmes resulted in another crash.
In addition, the task was to ensure the replacement of the Comau robots. There is no repeatable and reproducible mastering procedure for this type of robot.
Implementation
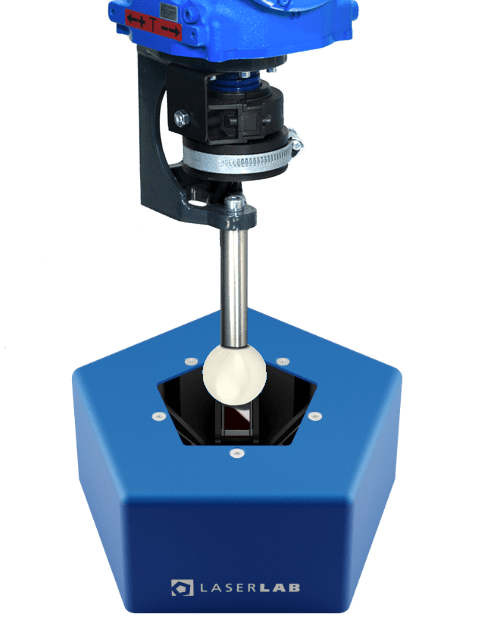
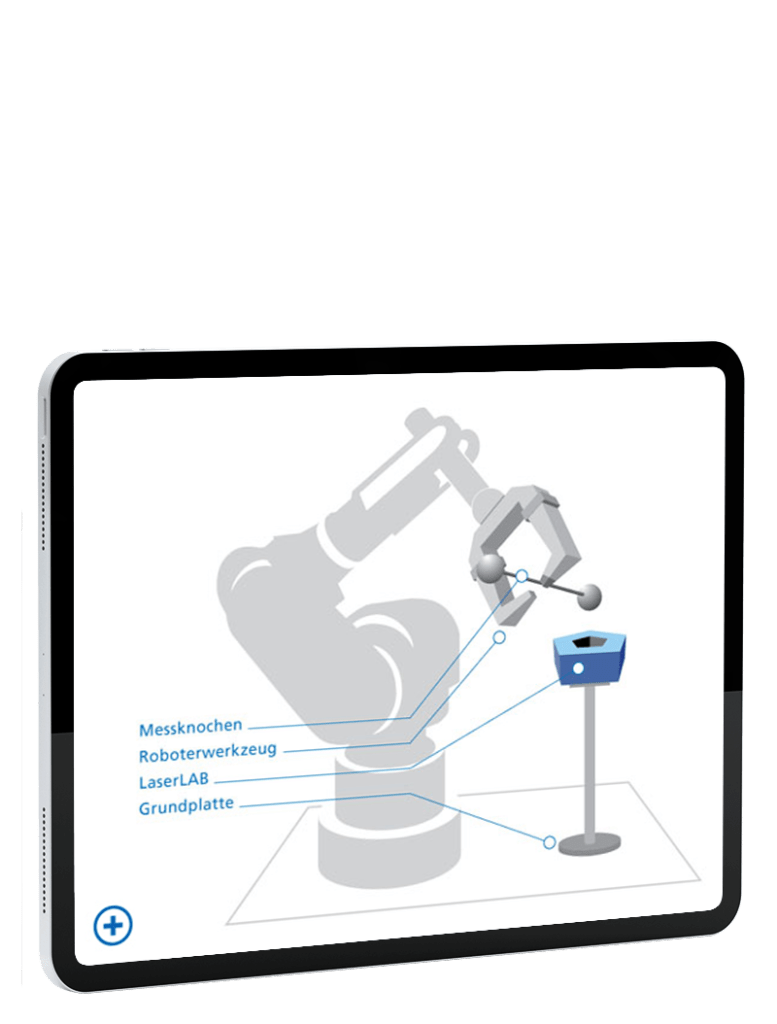
The measuring bone was developed to measure a spot welding gun. It is an arm with 2 measuring balls at the ends and a 1:10 morse taper adapter in the middle. The electrode cap is removed with pliers and the measuring bone is placed on the E-arm. The pliers are then closed. The measuring bone is now firmly seated on the E-arm and the two measuring balls can be measured with tool:in. The TCP is then the centre of gravity of the two balls. The measuring bone is available for the most common cap sizes of 13, 16 and 20 mm.
It can be assumed that the line would be full of car bodies if a measurement were to be taken and it would be unreasonably difficult to clear the line. This is why an angled stand has been developed that can be screwed into the sockets on the conveyor belt while the body is still in the station.
An additional loop:in was performed for the Comau robots.
Products
These Wiest products were used:

LaserLAB
The ultimate all-in-one solution for robotic cell measurement and calibration tasks
Technical support
Contact our support team with any technical questions.
+49 (0)821 123 456
Technical support
Contact our support team for all technical questions
+49 (0)821 123 456
More cases
Here you can find more cases on this topic
Fast commissioning of offline programmes
Fast commissioning of offline programmes In order

